Installation of TV Wall Mount: Step by Step 2026
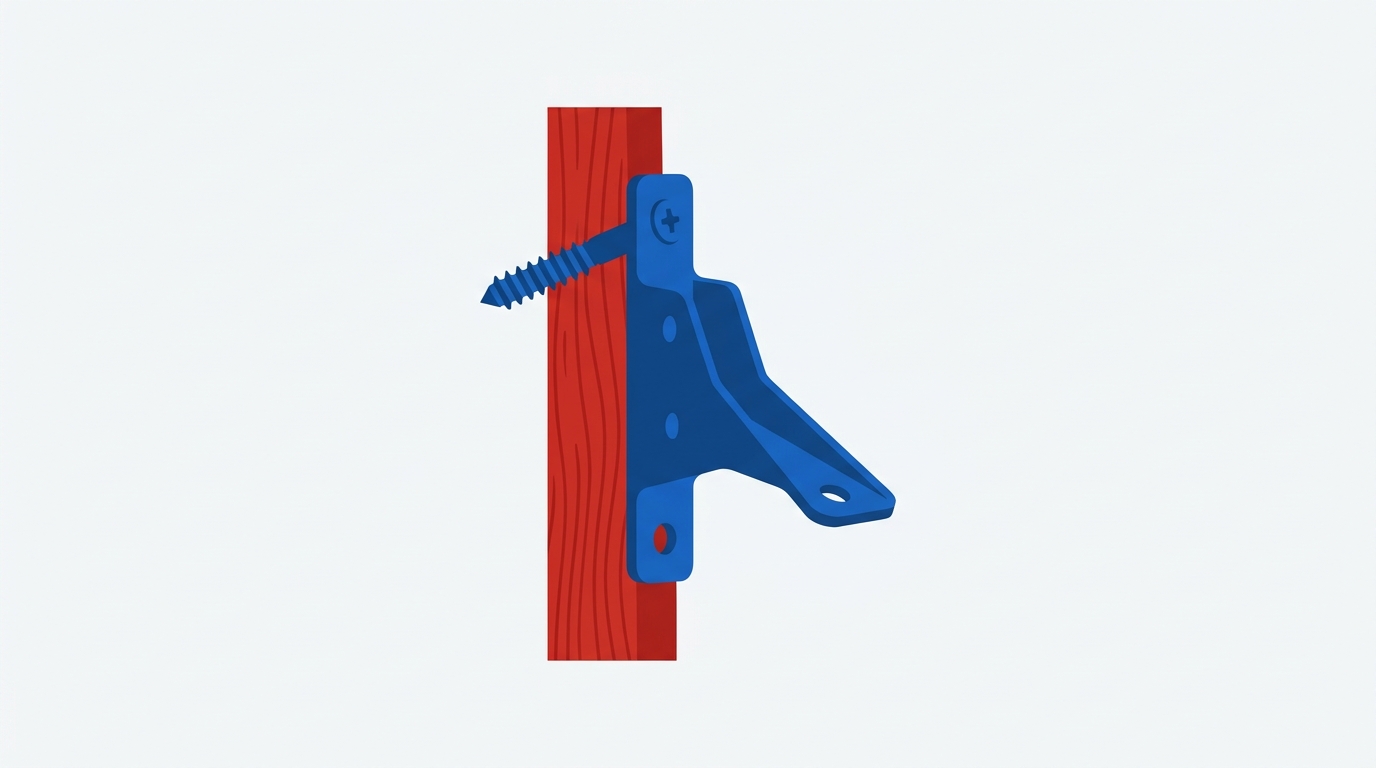
What does installing a TV wall mount actually involve?
Installing a TV wall mount means fastening a steel bracket into the structural framing behind your wall, bolting the VESA plate to the back of the television, hanging the TV level on that bracket, and routing power and signal cables so nothing dangles. That is the whole job in one sentence. Everything else is detail about which wall you have.
There are four phases, and they always run in this order:
- Identify the wall. Drywall over wood studs, lath and plaster, metal studs, stucco, or masonry. The fastener you use is decided here, not at the hardware store.
- Choose and match the mount. VESA pattern, weight rating, and the movement you actually want.
- Fasten. Pilot holes, lags or anchors, level check, torque.
- Dress the cables. In-wall rated cable, a raceway, or a code-legal recessed power kit.
Phase one is the phase most guides skip, and it is the phase that decides whether the other three go smoothly. A national how-to article assumes wood studs behind half-inch drywall because that is what most of the country has. Los Angeles and Orange County housing does not cooperate. A 1936 bungalow in Highland Park has lath and plaster. A 2006 condo conversion in Irvine may have light-gauge metal studs. A patio wall in Anaheim is stucco over sheathing, or concrete block.
On a cooperative wall, budget 45 to 90 minutes from box to first show. On a stubborn wall, double it, and be willing to stop.
Identify your wall first: drywall, plaster, metal stud, stucco or masonry
You can identify your wall type in about two minutes with a magnet, a stud finder, and one small test hole in a spot the TV will cover. Do this before you buy a single fastener. The mount box contains lag screws for wood studs, and wood lag screws in a metal stud are close to worthless.
Here is the sequence.
The magnet test. Run a strong magnet slowly across the wall in a horizontal line. Drywall screws pop up every 16 inches or so, in a vertical column. If the magnet grabs in a nearly continuous vertical strip rather than at discrete points, you are likely on a metal stud, because the magnet is tracking the steel flange itself. If the magnet grabs in a dense horizontal pattern of small hits every couple of inches, those are lath nails, which means plaster.
The knock test. Tap with a knuckle. Drywall sounds hollow and slightly papery between studs and dull over them. Plaster sounds harder and higher, almost like tapping a plate, and the difference between stud and no-stud is subtler. Masonry does not sound hollow anywhere.
The drill-dust test. Drill a 1/8-inch test hole where the TV will hide it, and look at the powder. White chalky dust is drywall gypsum. Grey gritty sand is plaster. Red or orange grit is brick. Very fine grey dust with hard resistance is concrete or CMU. Yellowish shavings mean you are into wood, which is what you want.
The stud-finder behaviour test. An electronic stud finder over wood studs gives you a clean edge, a centre, and a second edge, repeatably. Over metal studs it often reads a very narrow target, an inch and a half or less, and reads it identically on every pass. Over plaster it gives you nonsense: false positives every few inches where the lath nails and the lath itself confuse the sensor.
What each wall type demands
Drywall over wood studs. The easy case. Lag screws, typically 5/16 or 3/8 inch, driven at least 1.5 inches into solid stud. This is the wall every mount is designed around.
Lath and plaster. Common in pre-1950 Los Angeles bungalows and duplexes. The studs are there, but they are buried under wood lath and up to an inch of plaster, so your lag screws need to be longer than the ones in the box to reach the same 1.5 inches of stud penetration. Plaster chips outward when a drill bit exits or a bit wanders. Drill slowly, start with a small bit, and never let the drill hammer. Old plaster near a keyhole crack will spall around the fastener and leave you patching.
Metal studs. Light-gauge steel framing shows up in condos, apartment conversions, and commercial-to-residential remodels across Orange County. Wood lag screws will spin and strip in 25-gauge steel. The correct fastener is a toggle-style anchor rated for the load, such as a strap toggle or a heavy-duty snap toggle, installed through the stud flange. Use every hole the bracket gives you and stay well inside the mount's rating. If you have a 75-inch TV and metal studs, this is the point where a lot of confident DIYers should hand it over.
Stucco and CMU. Exterior patio walls need a hammer drill, a masonry bit, and sleeve anchors or wedge anchors set into solid block, not into the hollow core if you can avoid it. Stucco over wood framing is a different animal: you drill through the stucco layer and land in the stud behind it, so you need to know which one you have before you buy anchors.
Brick fireplace chase. Two problems at once. The masonry problem is drilling into mortar joints versus brick faces: mortar is easier to drill and easier to repair, brick is stronger but cracks if you are careless. The heat problem is that the space directly above a working firebox can exceed what your TV is rated to tolerate. Run a fire for an hour and hold your hand where the screen will sit. If it is uncomfortable, that is your answer.
| Wall type | Fastener | Difficulty |
|---|---|---|
| Drywall over wood studs | Lag screws into two studs | Easy |
| Lath and plaster | Longer lag screws, slow pilot drilling | Moderate |
| Metal studs | Rated toggle anchors, no wood lags | Moderate to hard |
| Stucco over framing | Long lags through stucco into studs | Moderate |
| CMU or concrete | Hammer drill, sleeve or wedge anchors | Hard |
| Brick fireplace chase | Masonry anchors, plus heat check | Hard |
What tools and hardware do you need before you start?
You need a stud finder, a strong magnet, a level, a drill, the correct pilot bit, a socket wrench, a tape measure, a pencil, painter's tape, and a second person. Anything you are missing at step four will send you to the hardware store with a TV face-down on your carpet.
Full list before you begin:
- Electronic stud finder, plus a rare-earth magnet as a cross-check
- Four-foot level for the bracket, or a torpedo level plus a long straightedge
- Drill/driver with a clutch, and a socket wrench or ratchet for the lags
- Pilot bit sized to roughly 70 percent of your lag screw's shank diameter, so about 3/16 inch for a 5/16 lag
- Tape measure, pencil, painter's tape
- Hammer drill and masonry bits if you are going into stucco, brick, or block
- Toggle anchors rated for the load if you found metal studs
- Cable ties or hook-and-loop straps, and a surface raceway if you are not going in-wall
- A helper. Not optional above 55 inches.
- A blanket or the TV's own foam to lay the screen on, face down
VESA, screws and weight ratings
VESA is the four-hole bolt pattern on the back of your TV, measured in millimetres, horizontal by vertical. A 400x300 TV needs a mount that supports 400x300. Check the pattern on the TV itself or in the manual, not on a spec site, and measure it with a tape if you are unsure.
The bracket that came in the TV box is often a table stand or a slim fixed plate, not the mount you want. Buy the mount for the job. And check the mount's rating against the TV's actual weight, printed in the manual, not against its screen size. A 65-inch OLED and a 65-inch older LED can differ by 20 pounds or more.
One quiet failure worth naming: the screws that came with your mount may be too long for a thin panel. Modern TVs have shallow threaded inserts, and a screw that bottoms out can crack the internal chassis or push into the panel. Use the shortest screw that fully engages the insert, with a spacer if the mount supplies one, and stop tightening as soon as it seats.
How do you choose the height and position so you do not regret it?
The vertical centre of the screen should sit at your eye level when you are seated in your normal viewing spot. In most living rooms that lands the centre between 40 and 45 inches off the floor, which is lower than most people instinctively hang it.
Measure it properly. Sit where you actually watch, have someone hold a tape at the wall, and note the height of your eyes. That number is the target for the middle of the screen, not the bottom, not the top. Then subtract half the screen height to find where the bottom edge lands, and work back from there to where the bracket's mounting holes need to sit.
Glare decides more than aesthetics
In Southern California, afternoon sun through a west-facing window will ruin a TV placement that looked perfect at 10 a.m. Before you commit, stand in the room at 4 p.m. and look at where the wall reflects. A wall facing a west window is a bad wall for a glossy screen no matter how good the sight lines are. Moving the TV to the adjacent wall, or accepting a slight tilt, solves what no picture setting can.
Check the outlet situation at the same time. If there is no receptacle behind your chosen spot, you are committing to either a raceway or an in-wall power kit, and that changes the job's length and cost.
The fireplace question, honestly
Mounting over a fireplace is popular and it is usually a compromise. Three real issues: heat rising from the firebox, the mandatory downward tilt to correct the viewing angle, and neck strain from looking up for two hours. If the mantel is deep and projects several inches, it deflects heat and helps. If the screen centre ends up above about 60 inches, expect to notice it in your neck within a week.
Whatever you choose, tape the outline on the wall with painter's tape and leave it up for an hour. Sit down. Eat dinner. Walk past it. An hour of living with the rectangle catches mistakes that no measurement does.
Step by step: mounting the bracket and hanging the TV
Work in this order, one action per step. Each step prevents a specific failure.
1. Attach the VESA plate to the TV. Lay the TV screen-down on a blanket or its own foam, on a table or the floor. Thread the correct screws by hand first, then snug them with a driver on low clutch. You should see the plate sitting flat against the back, with no gap and no flex. Prevents: cracked panels from over-long screws.
2. Locate both studs and mark their edges. Not just the centre. Sweep the stud finder past each stud from both directions, mark the left edge and the right edge, and take the midpoint. Confirm with the magnet. You should see two marked centres roughly 16 inches apart. Prevents: an edge-strike where the lag bites half wood, half air.
3. Mark and pilot-drill at the correct depth. Hold the wall plate up, level it, and mark through the mounting holes. Drill your pilot holes with a piece of tape wrapped around the bit as a depth stop. You should see wood shavings coming out of the hole, not just white gypsum dust. Prevents: the single most common failure, discovering at torque time that you missed the stud.
4. Drive the first lag, then check level, then drive the second. Use a socket wrench, not an impact driver. Snug the first lag until the plate is held but can still be nudged, set your level on the plate, adjust, then drive the second. You should see the bubble centred with both lags biting. Prevents: a bracket permanently 3 degrees off, which is visible on a 65-inch screen from across the room.
5. Torque the remaining lags and test the plate. Tighten each lag until the washer is firmly seated and the plate does not move. Then grab the plate and pull hard, straight out and downward. Put weight on it. You should see and feel zero rock, zero creak, no dust falling from any hole. Prevents: finding out under a 60-pound load instead of your own hands.
6. Lift and hook the TV, with two people. One person on each side, lift from the frame, not the screen, and set the TV's brackets onto the wall plate. Two people for anything over 55 inches, without exception. You should see the TV hanging square with the hooks fully seated. Prevents: the dropped-TV story everyone knows someone who has.
7. Engage the safety latch or locking screw. Almost every mount has one: a pull-cord latch, a set screw at the bottom, or a locking bar. Engage it and confirm it clicks or bottoms out. You should see the TV refuse to lift off the plate when you try. Prevents: the TV walking off the hooks during an earthquake, which is the entire reason the latch exists.
8. Check tilt and swivel travel before dressing cables. Move the TV through its full range and watch the cables. You should see the connectors stay seated with slack to spare at full extension. Prevents: a full-motion arm ripping the HDMI out of the port at the far end of its swing.
Seismic note for Los Angeles and Orange County: two studs, correctly sized lags fully seated, and an engaged safety latch. A single stud plus drywall anchors is not a shortcut, it is a failure waiting for the next shaker.
Routing cables and power without opening the wall illegally
Low-voltage HDMI can legally run inside a wall cavity if the cable is in-wall rated, marked CL2 or CL3 on the jacket. A standard power cord cannot. That is the whole rule, and it is the one people break most often.
Standard TV power cords are not rated for in-wall use. Running one through the cavity is a fire-code violation and a genuine hazard, and it is the kind of thing that surfaces during a home inspection years later. There are three correct ways to hide power:
- A recessed in-wall power kit. A pair of bracket plates, one behind the TV and one near the existing outlet, connected by in-wall rated Romex. This moves the receptacle, it does not extend the cord. Installed to code, it is clean and legal.
- A new outlet behind the TV. The cleanest result, and licensed electrician work.
- A surface raceway. A plastic or metal channel that sticks to the wall, holds all the cables, and takes paint. Less glamorous, completely legal, and undoable.
Two physical obstacles will interrupt an in-wall run even when the plan is legal. Fire blocks are horizontal framing members between studs, common in older construction, and your fish tape will hit them and stop. Insulation in an exterior wall turns a two-minute pull into a twenty-minute one. Interior walls are usually easier for this reason.
If you rent, the raceway is almost always the smarter call. It patches with a screwdriver and a dab of spackle instead of two open holes in a wall you do not own. Leave a service loop of slack behind the TV either way, so a future swap does not mean re-pulling everything.
Cost of TV wall mount installation in 2026: DIY versus hiring a pro
DIY costs you the mount plus any tools you do not own. Professional installation from Quick TV Mounting starts at a $69 base, with bigger TVs increasing the price above that base, before full-motion mounts or multi-TV setups are added.
The DIY math is honest only if you count the tools. If you already own a stud finder, a drill, a socket set, and a four-foot level, the mount is your main cost. If you do not, a decent stud finder and a long level add up quickly, and a hammer drill for masonry adds more. Then there is the cost of a mistake: a cracked plaster wall, a mis-drilled hole in the wrong spot, or a TV that had to be caught.
For an external reference point: as of 22 August 2026, Home Depot's Pro Referral page describes installing a standard-size bracket on a wood or drywall surface up to six feet high as running roughly $100 to $200. That is their published range for a straightforward job, and it is a useful sanity check on what the market looks like.
We are not going to publish current figures for Best Buy's Geek Squad, Puls, TaskRabbit, Handy, or Coastline TV Installs. Those numbers change, and a stale price attributed to a named company is worse than no price at all. Check their own pricing pages the day you are booking.
What is genuinely different about each option
The pricing is not the interesting comparison. The shape of the service is.
| Option | How it works | Where it genuinely wins |
|---|---|---|
| Platform marketplaces (TaskRabbit, Handy) | You post a job, the platform matches you with whoever is available | Breadth. If you also need a shelf hung and a bed assembled, one booking covers all of it |
| Big-box install (Geek Squad) | Installation attached to a purchase, scheduled through the retailer | Simplicity when you are buying the TV anyway, and one company owning both the product and the install |
| Dedicated local mounting (Quick TV Mounting, Coastline TV Installs) | Mounting is the entire business, not a category within a bigger one | Depth on the specific problem. Someone who mounts TVs all day has already met your plaster wall |
A marketplace handyman may be excellent, and many are. The variable is that you are matched to who is free, so the person who arrives may have mounted three hundred TVs or thirty. A big-box install is convenient and predictable but tied to a purchase and a schedule. A dedicated mounting outfit has one job, which is why the odd walls get handled without a second trip. You can read more about how Quick TV Mounting works if that model appeals.
When should you stop and call a professional?
Stop drilling if any one of these is true. Not two. One.
- Your stud finder gives inconsistent readings on repeated passes over the same spot.
- The wall is plaster over lath and it is crumbling or spalling around your test hole.
- You found metal studs and the TV is 65 inches or larger.
- The only viable location is masonry, concrete block, or a fireplace chase.
- The TV is over 65 inches and you are working alone.
- The mount is full-motion and the leverage at full extension worries you. Trust that instinct, the leverage is real.
- You rent, and the work needs to be reversible and cleanly patched at move-out.
- You have hit anything unexpected: a water line, a wire, or resistance where there should be framing.
Stopping is not a failure. Stopping with the TV out of the box on the living room floor is the situation same-day service exists for, and it is why the callback speed matters more than it sounds. Quick TV Mounting calls back in under 20 seconds, with no hold music and no phone menu. When you are standing in a room with a TV on the carpet and a half-drilled hole in the wall, waiting on hold is the worst part of the day.
Common TV mounting mistakes and how to undo them
Most mounting failures come from a short list. Here is the list, and the fix for each.
Mounting to drywall anchors alone. Drywall anchors hold picture frames. They do not hold a cantilevered 55-inch TV, and in earthquake country they hold it even less well. The fix is to remount into studs, patch the anchor holes with setting compound, and repaint. There is no version of this where the anchors are fine.
Hitting only one stud. The bracket pivots on the single fastened point and the free side slowly works loose. Remount so both ends of the plate land in framing. If the studs are not spaced to suit, use a mounting rail or a plywood cleat lagged into two studs, then mount the bracket to the cleat.
Over-torquing lags into plaster. The plaster crushes and the washer sinks in, and you feel the resistance drop just before it happens. Back off immediately. Repair with patching plaster, then re-drive to snug and stop.
Drilling into a water line or electrical cable. Prevention is the only real answer: keep pilot depth to what you need, and be extra careful within a vertical band above and below outlets and switches, and behind bathrooms and kitchens. If you nick Romex, stop, kill the breaker, and call an electrician. If you hit water, kill the main.
VESA screws bottoming out. You feel it as sudden hard resistance well before the plate is tight. Stop, back the screw out, and use a shorter one or the supplied spacer. Forcing it is how the panel cracks.
Forgetting the safety latch. Thirty seconds of work, and it is the one thing standing between a shake and a shattered screen. Check it now if you mounted a TV last year and cannot remember doing it.
Hanging it too high. No mechanical failure, just a slow one. The neck complains within a week and never stops. Remounting lower means new holes and a patch, which is annoying, and still better than living with it.
No service loop in the cables. Leave slack behind the TV. Without it, every tilt strains a connector, and every future device swap means unmounting the whole thing.
FAQ
How much does it cost for someone to install a TV wall mount?
Quick TV Mounting starts at a $69 base, with larger TVs priced above that base before full-motion mounts or additional TVs are factored in. As an outside reference, Home Depot's Pro Referral page as of 22 August 2026 describes a standard bracket on wood or drywall up to six feet high as running roughly $100 to $200. Other providers publish their own figures, and those change, so check their pricing pages directly on the day you book.
What are common TV mounting mistakes?
The most common are mounting into drywall anchors instead of studs, catching only one stud instead of two, using VESA screws that are too long for a thin panel, forgetting to engage the mount's safety latch, hanging the screen too high for comfortable seated viewing, and leaving no slack in the cables behind the TV. Nearly all of them are prevented by confirming the framing before drilling and by pulling hard on the empty bracket before the TV goes anywhere near it.
What are the rules for mounting a TV on the wall?
Three rules cover most of it. Fasten into structural framing, not into wall board alone. Match the mount's weight rating to the TV's actual weight from the manual, not to its screen size. And for cabling, in-wall rated HDMI marked CL2 or CL3 may run inside a wall cavity, while a standard power cord may not: use a recessed in-wall power kit installed to code, add a new outlet, or run a surface raceway.
How much does Best Buy charge to install a TV mount?
We are not going to quote a Best Buy or Geek Squad price here, because we cannot verify their current figure from a dated source and a wrong number helps nobody. Their pricing is published on their own site and is the only reliable place to read it. What we can say about the shape of the service is that big-box installation is typically arranged alongside a TV purchase, which suits people buying the set and the install together.
Can I mount a TV on a wall without studs?
Sometimes, but only with the right fastener and within a real load limit. On metal studs, use toggle-style anchors rated for the weight and use every mounting hole. On solid masonry or concrete, use sleeve or wedge anchors set with a hammer drill. On hollow drywall with no framing at all, the honest answer for anything above a small screen is no: run a plywood cleat lagged into the nearest studs and mount to that instead.
Can renters mount a TV without losing the deposit?
Usually yes, with two conditions: get written permission from the landlord first, and keep the work patchable. A few lag holes in studs fill and paint cleanly, which is why a fixed or tilting mount on a normal interior wall is low risk. Skip in-wall cable runs and use a paintable surface raceway instead, since a raceway peels off and leaves nothing to repair. Photograph the wall before you start.
Standing in your living room with the TV still in the box and a wall you are not sure about? That is exactly the call to make. Book same-day TV mounting with Quick TV Mounting and you will hear back in under 20 seconds, with no hold music and no menu to sit through.
Need a TV mounted in LA?
Get a QuoteNeed a TV mounted in LA?
Get a Quote